Procedure to Recovery & Conversion OST file to Outlook PST
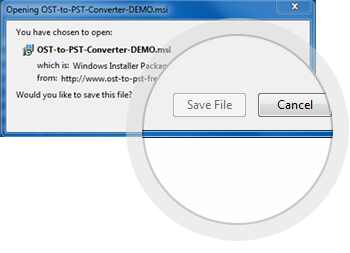
![]() Download, Install and Run OST To PST Converter.
Download, Install and Run OST To PST Converter.
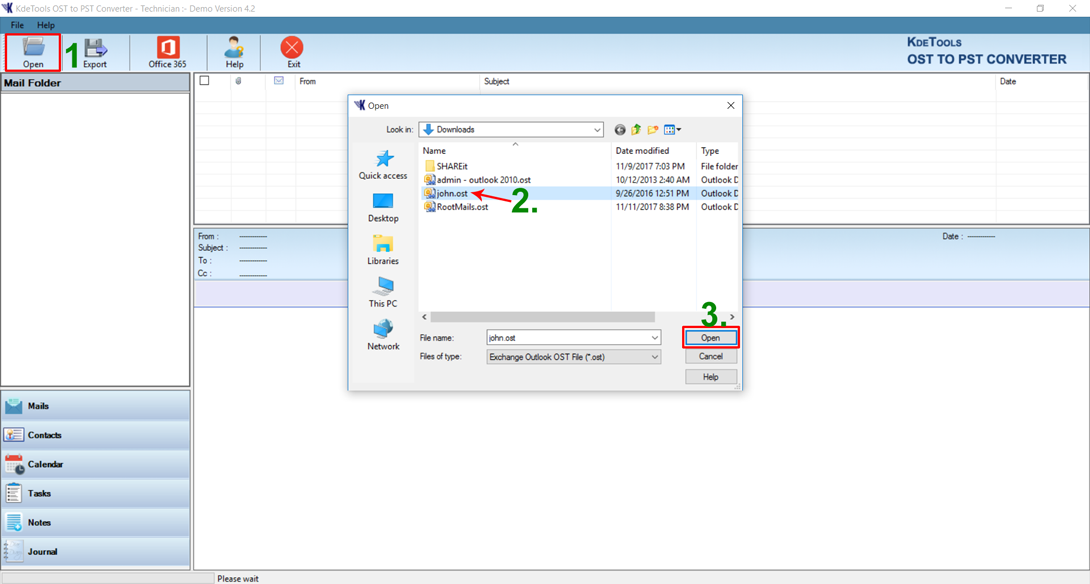
![]() Run the OST To PST Converter Software, Go to Menu bar » [1] Click on “OPEN” Button... , then [2] select on OST file and [3] click on “OPEN” button
Run the OST To PST Converter Software, Go to Menu bar » [1] Click on “OPEN” Button... , then [2] select on OST file and [3] click on “OPEN” button
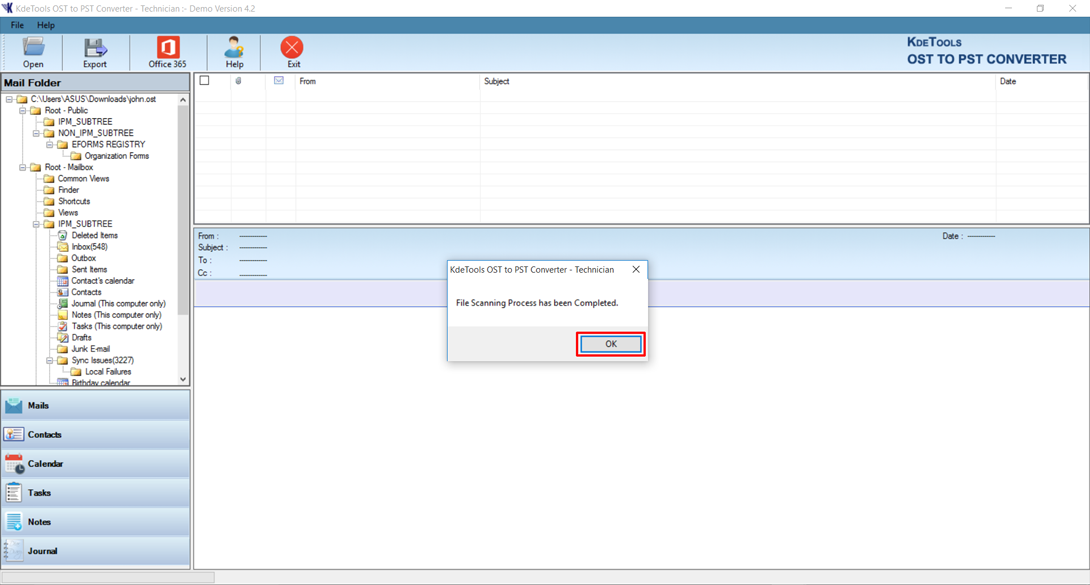
![]() Loading Folders Process from Selected OST File, After that, System will show pop up message "File Scanning Process has been completed" , then click OK button
Loading Folders Process from Selected OST File, After that, System will show pop up message "File Scanning Process has been completed" , then click OK button
![]() Click on any folders (like Inbox folder or other) on Left Panel to loading all messages on Right Panel
Click on any folders (like Inbox folder or other) on Left Panel to loading all messages on Right Panel
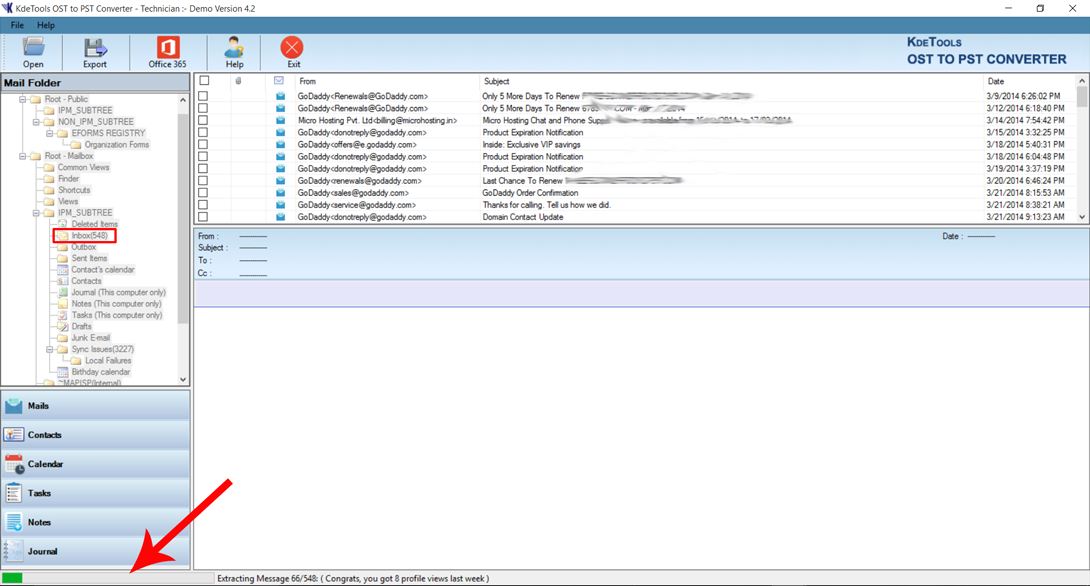
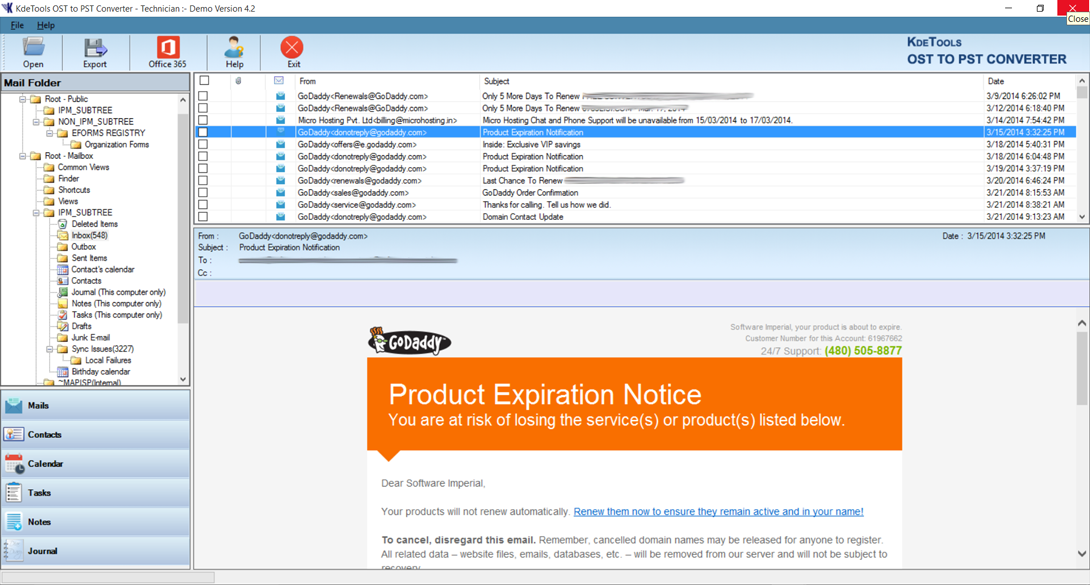
![]() Completion of OST extracting, user will preview of recovered OST Mailboxes Items and its properties like From, To, Subject, Cc, Date
Completion of OST extracting, user will preview of recovered OST Mailboxes Items and its properties like From, To, Subject, Cc, Date
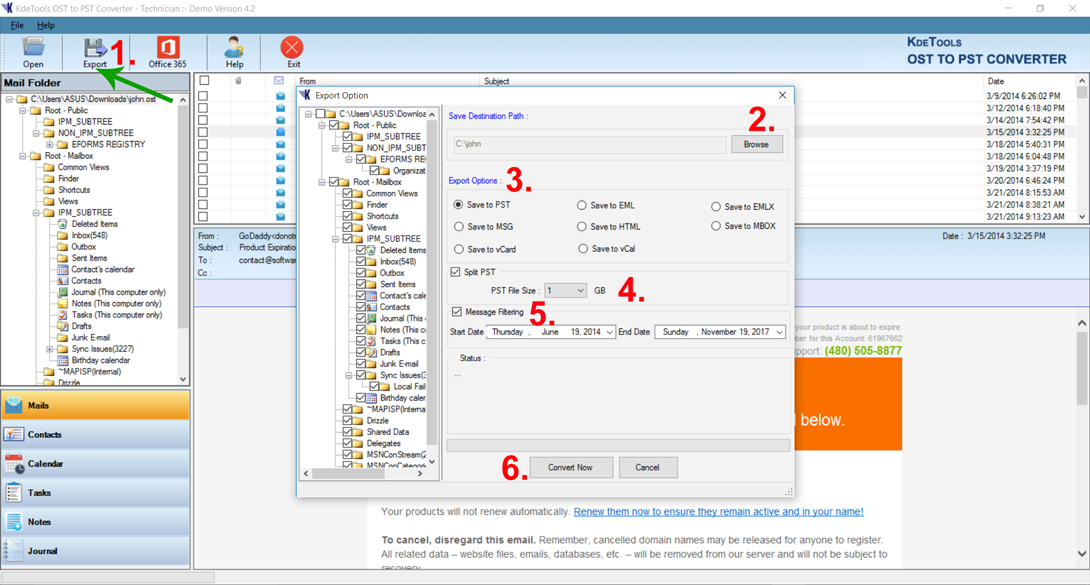
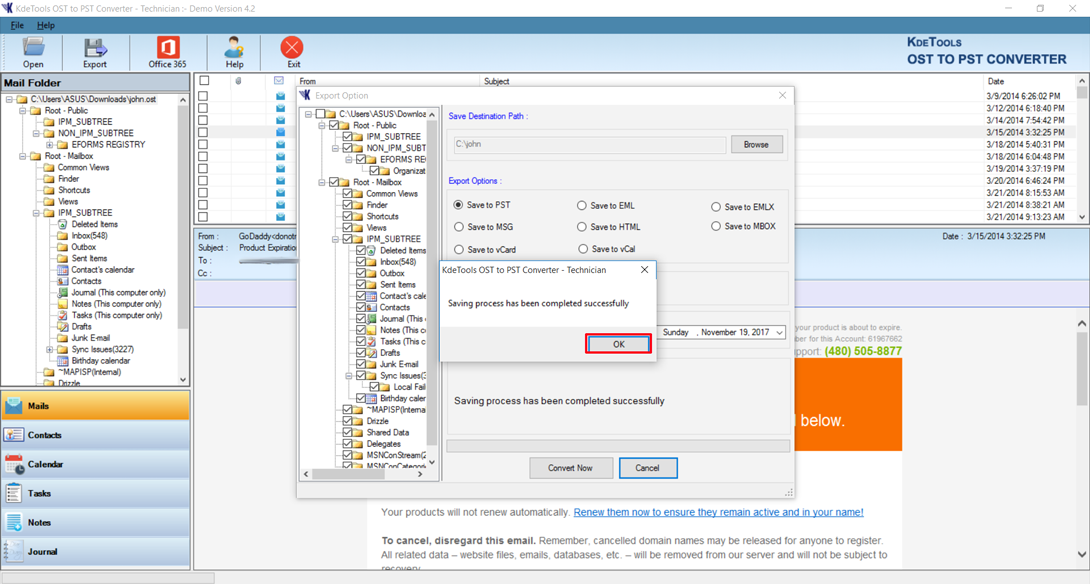
![]() [1] Click on “EXPORT” Button, [2] Go to Save Destination Path, Click on “BROWSE” Button to locate the destination of your system , [3] Go to “Export Options” to select save OST file to desired file format: PST/EML/MSG/EMLX/MBOX/HTML/vCard/vCal , [4] Go to “Split PST Option” allows to split the large PST file according your desire like 1GB, 2GB, 5GB, etc. , [5] Go to “Messaging Filter” allows to set specific duration of Date Range -[FROM, To] to retrieve desired mailbox items., [6] Go to “Convert Now” Button to start convert process
[1] Click on “EXPORT” Button, [2] Go to Save Destination Path, Click on “BROWSE” Button to locate the destination of your system , [3] Go to “Export Options” to select save OST file to desired file format: PST/EML/MSG/EMLX/MBOX/HTML/vCard/vCal , [4] Go to “Split PST Option” allows to split the large PST file according your desire like 1GB, 2GB, 5GB, etc. , [5] Go to “Messaging Filter” allows to set specific duration of Date Range -[FROM, To] to retrieve desired mailbox items., [6] Go to “Convert Now” Button to start convert process
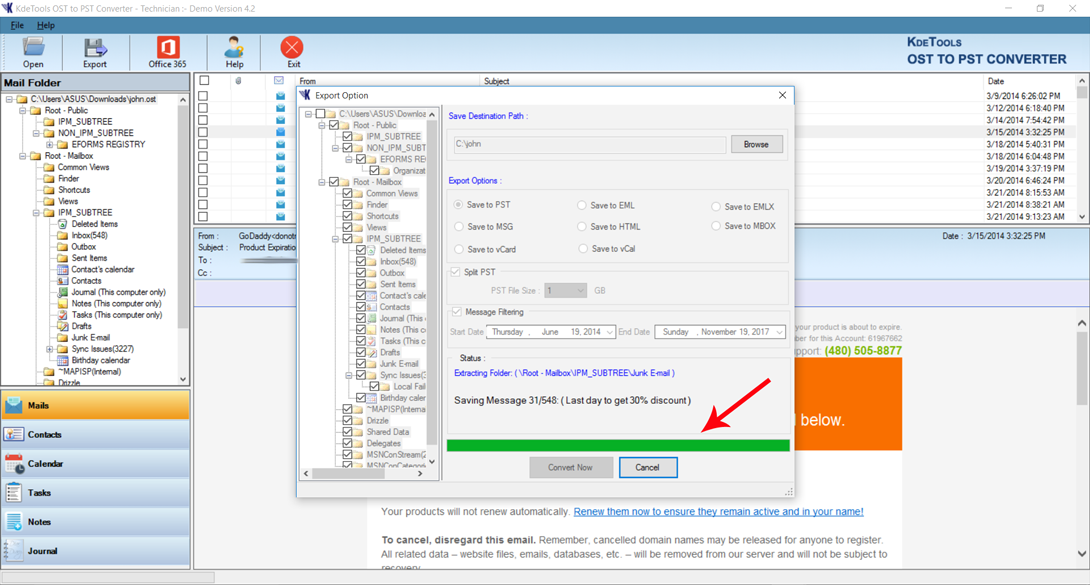
![]() After click on Convert Now process will start and it will show status - the exporting folder along with number of Items and destination Path.
After click on Convert Now process will start and it will show status - the exporting folder along with number of Items and destination Path.
![]() A dialog appears showing the successful message of the Export process. Click on Ok button.
A dialog appears showing the successful message of the Export process. Click on Ok button.
![]() For “Importing PST” file into “Microsoft Outlook”, Following given below Steps.
For “Importing PST” file into “Microsoft Outlook”, Following given below Steps.
![]() Click on Office 365 allows user to export all recovered mail data from OST to Office 365 account directly.
Click on Office 365 allows user to export all recovered mail data from OST to Office 365 account directly.
![]() Now type the username and password to export OST data
Now type the username and password to export OST data